Making A Smooth Curve Without Guidelines
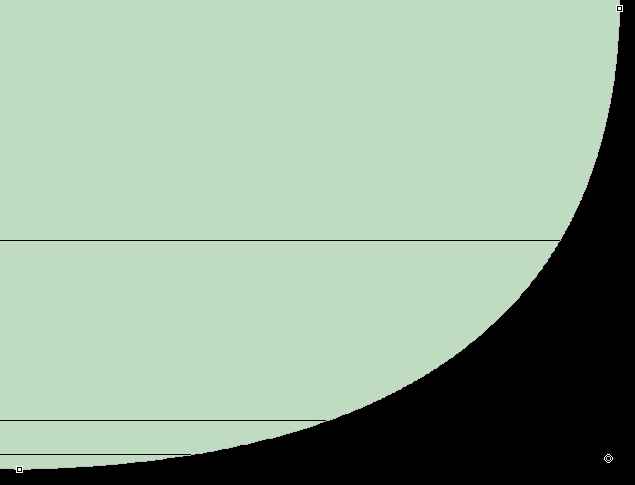
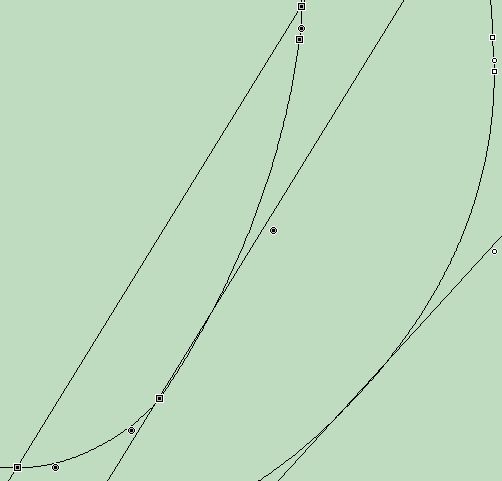
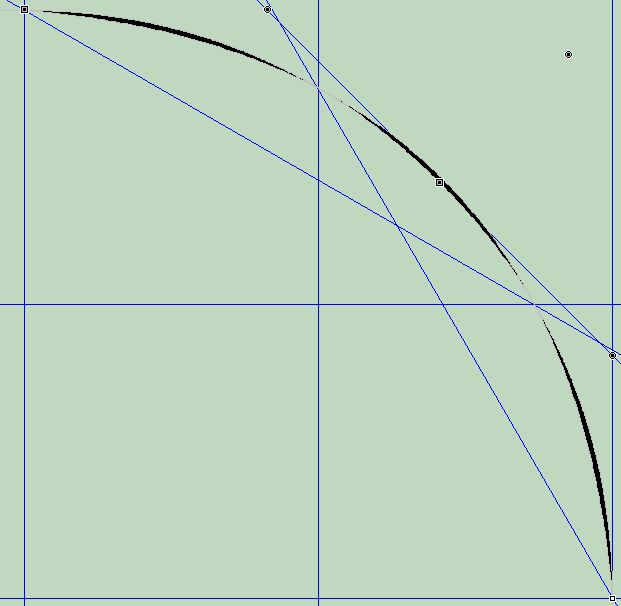
There are too many points - we only need three to make a smooth curve.
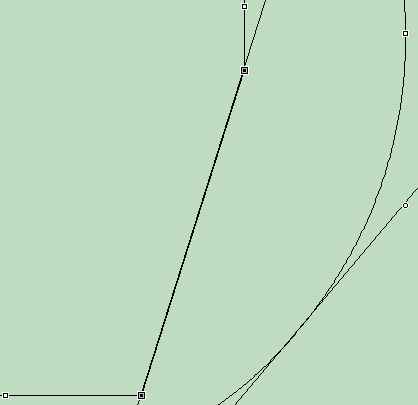
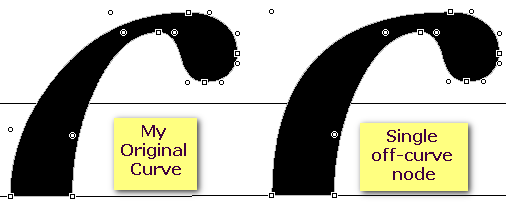
Having deleted all but one off-curve point between the two on-curve points, convert it to an on-curve point to get two straight lines. Then move it to align with the other two points, using the control plus cursor keys for fine adjustements until the two lines are exactly horizontal and vertical.
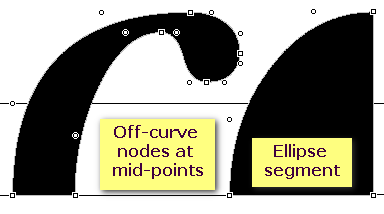
Then convert the central on-curve back to an off-curve point.
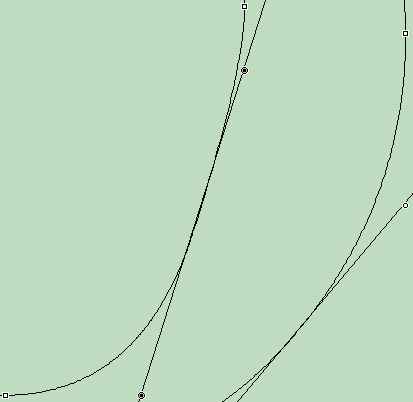
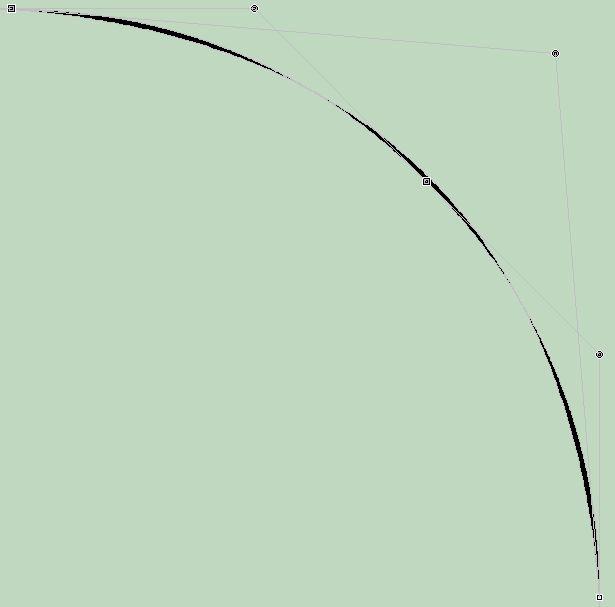
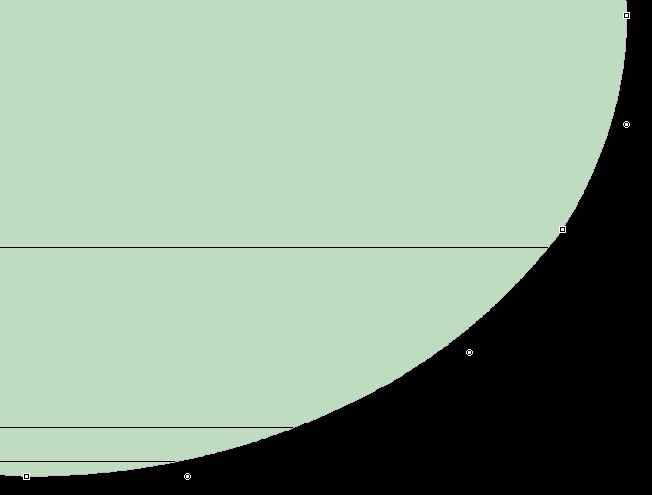
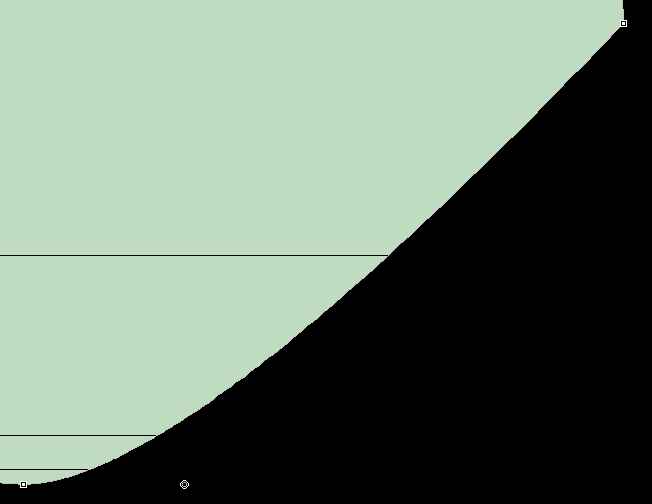
Now the curve is almost smooth, but requires fine adjustment by moving the off-curve point in by a few pixels in each direction.
Smooth Curves
-
- Top Typographer
- Posts: 9890
- Joined: Tue Oct 29, 2002 5:28 am
- Location: Seven Kings, London UK
- Contact:
Smooth Curves
Last edited by Bhikkhu Pesala on Mon Mar 15, 2004 2:58 pm, edited 1 time in total.
-
- Top Typographer
- Posts: 9890
- Joined: Tue Oct 29, 2002 5:28 am
- Location: Seven Kings, London UK
- Contact:
Longer Curves
Making a Smoother Curves with Two Off-curve points
It helps to use a diagonal guideline at a tangent to the curve before deleting any points. Select the two extreme points on the curve, press G to create the diagonal guide, then drag it to touch the curve. Here I have copied the guide to show the process more clearly.
Below you can see how I edit a bold italic lowercase o.
There are six intermediate points. Two is enough to get a smooth curve,
so I delete all but two of them, convert them to on-curve points and move them to the diagonal, horizontally or vertically in line with the curve's extreme points.
All I need to do now is convert them back to off-curve points
and the curve touches the tangent again.
Note the different angle of the tangent to the outside curve of the o.
You can also create diagonal guides by dragging a vertical guide,
rotating it with the shift key to the desired angle and dragging it into position.
Last edited by Bhikkhu Pesala on Sat Sep 06, 2003 8:06 am, edited 1 time in total.
-
- Top Typographer
- Posts: 9890
- Joined: Tue Oct 29, 2002 5:28 am
- Location: Seven Kings, London UK
- Contact:
In Search of the Perfect Circle
Is a Perfect Circle Possible?
The first illustration shows a quadrant with guidelines. All the off-curve points are selected. The vertical and horizontal guides bisect the quadrant and intersect the 30/60°diagonal guides on the circumference. The 45° tangent passes precisely through the mid-point of the green (white) quadrant, and the two off-curve points are at the intersections of the 45° tangent with 90° tangents to the on-curve extreme points.
The second illustration shows the points with connecting lines, with the guidelines hidden. You can see that the green quadrant with two off-curve points has tangents at right-angles to the on-curve extreme points, whereas in the case of the black quadrant with only one off-curve point the tangents are not at 90°. The black circle will therefore be a bit pointed at the on-curve extremes.
A further point to note, is that the on-curve mid-point of the white quadrant is redundant. I added it by selecting the adjacent off-curve point and choosing add. The 45° diagonal tangent to the white quadrant passes through this point. A perfect circle would pass somewhere between the black and white quadrants, outside this tangent.
A perfect circle is not possible, but with twelve points in exactly the right place, one can get a very close approximation.
-
- Top Typographer
- Posts: 9890
- Joined: Tue Oct 29, 2002 5:28 am
- Location: Seven Kings, London UK
- Contact:
With two off-curve nodes between two on-curve nodes at extreme points, a curve can range from pointed almost like the sharp corner of a rectangle to completely flat, like a straight line. A single off-curve node won't result in a perfect quadrant, and nor will two off-curve nodes, but it can be very close. See the quadrant produced by adding an ellipse from the drawing toolbar.