Hello! I am a new user exploring the trial version I just downloaded (15.0.3039), so please excuse my newbie question.
I am just trying to try the Background Panel shown at the p. 245 of the manual, but so far I am unable to actually see that panel.
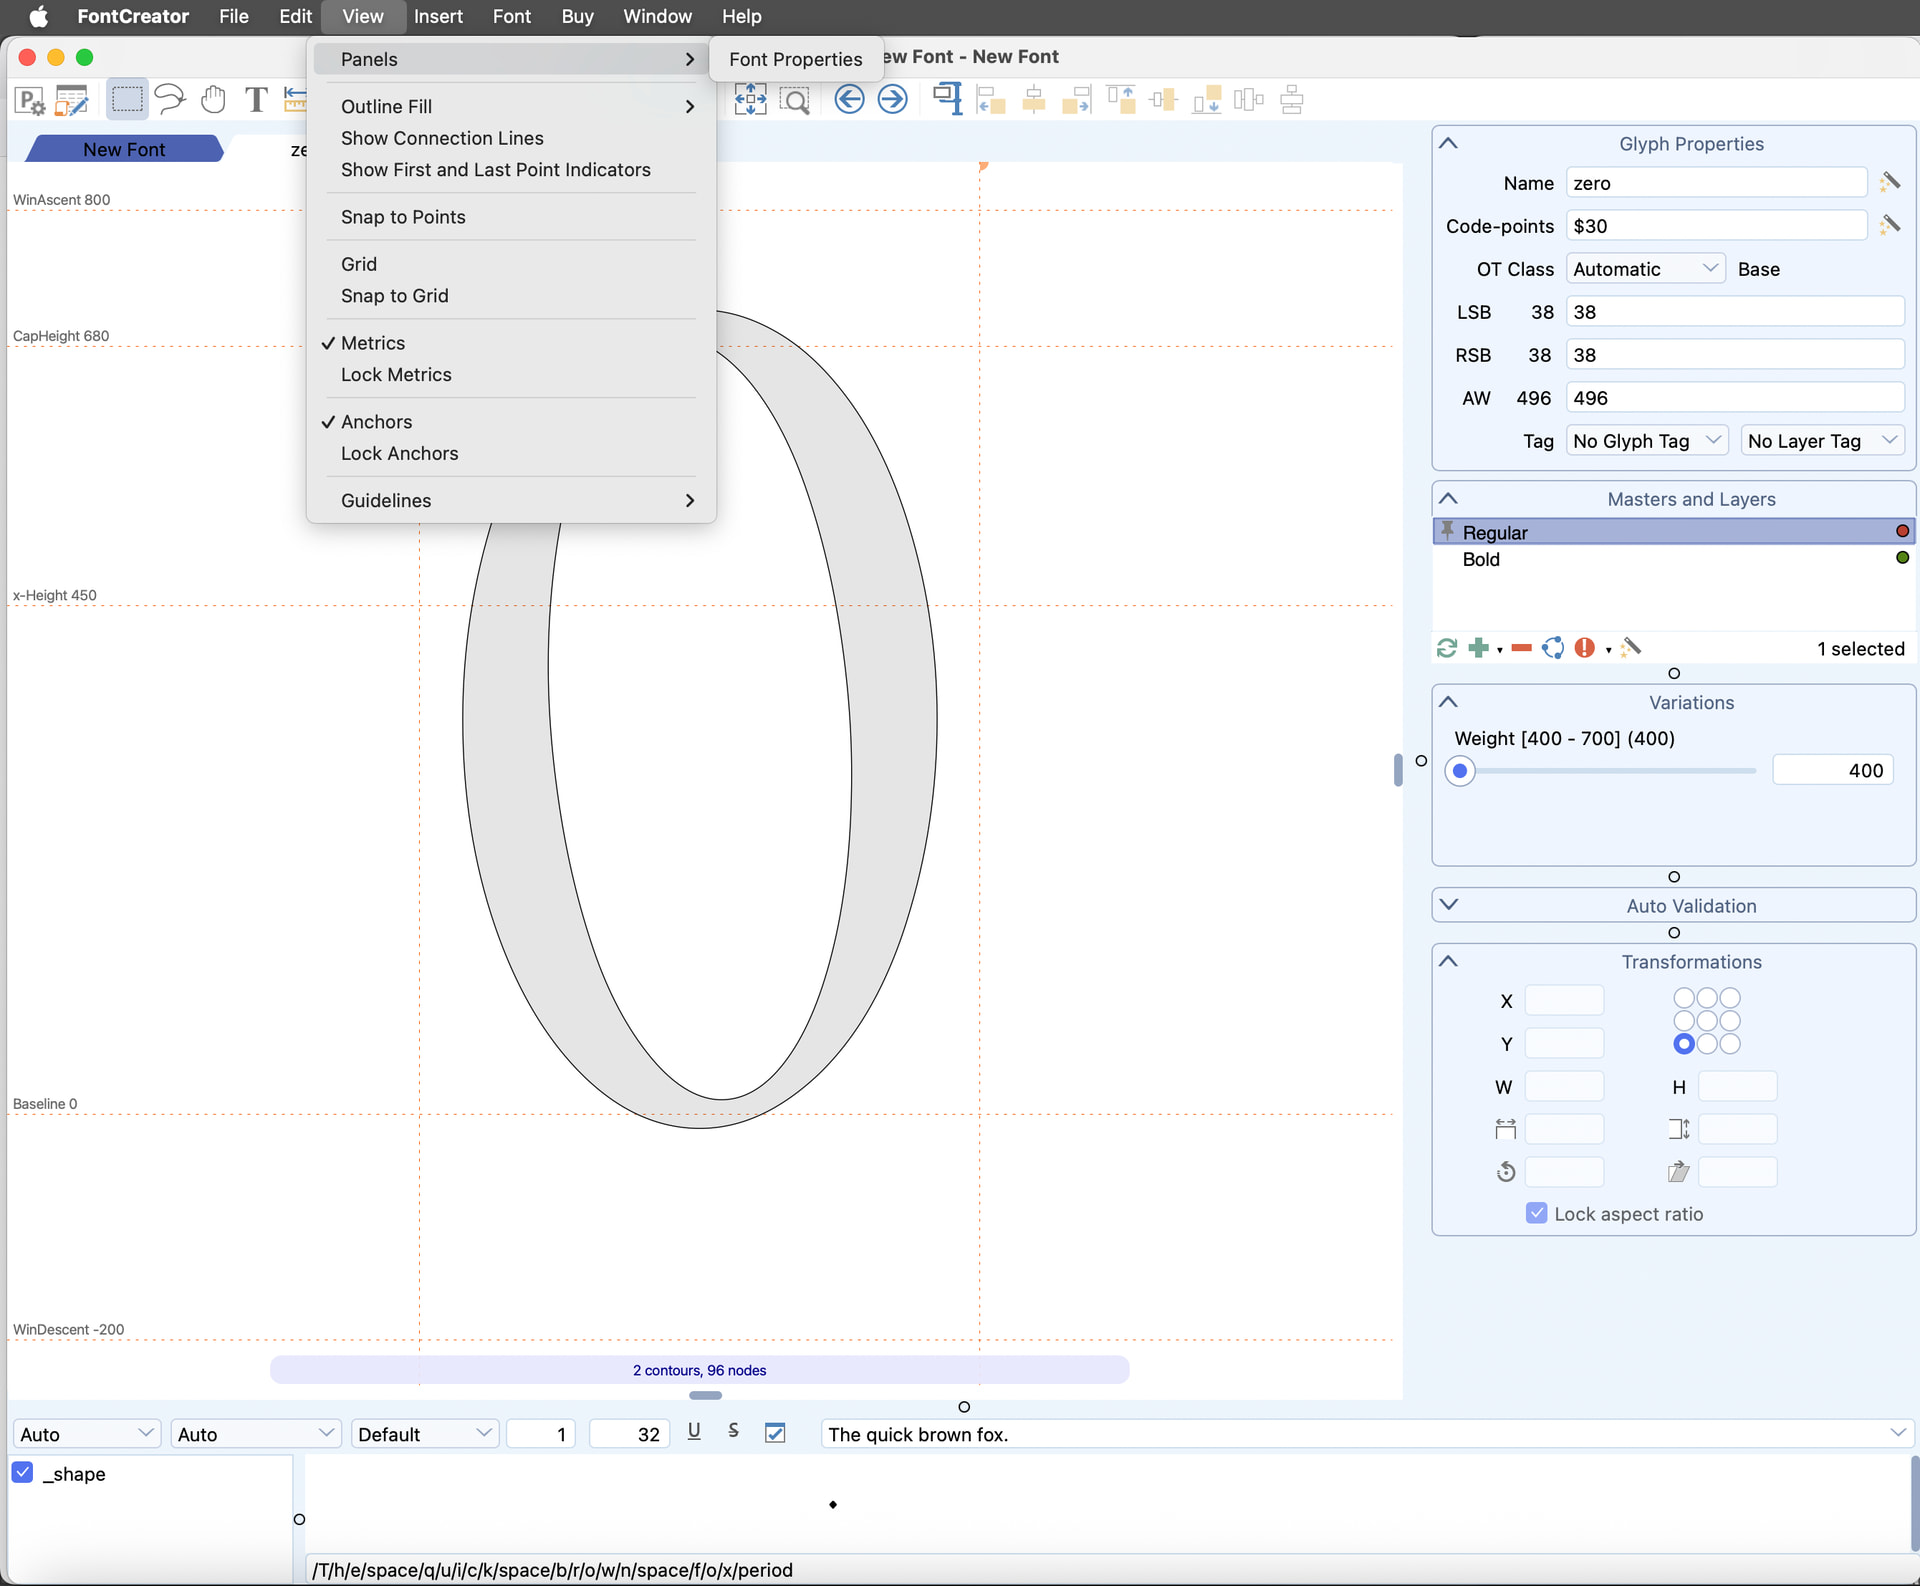
In this tutorial ( FontCreator 14 - Arranging Panels and Toolbars.wmv , 00:09) I see that supposedly the Background Panel can be activated at View > Panels > Background, but my version only shows the Font Properties Panel (as shown below), while in the tutorial I realize that you can activate there – among others – the Masters and Layers Panel, the Variation Panel, the Glyph Properties Panel, the Transform Panel, the Validation Panel… AND the Background Panel.
Thank you for bringing this to our attention, as it helps us improve the Mac version!
The Background panel is available in the Windows edition of FontCreator, but we haven’t added it to the Mac version yet. We’re currently evaluating the best way to bring this functionality to macOS. Our plan is to integrate it into the existing Masters and Layers panel, so you can work with a background layer without introducing yet another separate panel that would clutter the UI.
Just curious, are you looking to trace an existing drawing? If it’s a monochrome (black-and-white) image, you might also consider importing it as a raster image and working from there.
I understand. It would be great. If that solution works, I guess you can considerate it to implement it in the PC version too, so both versions work the same way.
Importing my image as a raster image is exactly what I want to achieve. I noticed that using Import Image gets different results if I choose Trace or Pixels. The latter does the trick, and I will use it as my starting point, but I am curious if there is a way to import my image not as nodes simulating pixels but as actual pixels. Just wondering.
Also: Is there any other feature currently present in the PC version but missing in the Mac version?